Scan detail — review findings, attach evidence, attest
For: all
Tier: free+
Time: ~6 min
Why you'd do this
The scan summary tells you HOW MANY findings exist; the scan detail page tells you what each one means and what to do about it. Each finding row carries the verbatim Article text, the scanner's reasoning, any auto-detected evidence, and the action surface (upload / attest / defer / NA). Thinking of compliance work as "finding row by finding row, smallest to largest gap" makes the scan-detail page the dominant work surface.
Before you start
- At least one scan in history (open
/dashboard/scansto navigate) - Pro+ tier if you want to upload files inline (free / starter sees the action but the upload button shows an upgrade prompt)
Step 1
The page splits into three vertical zones:
- Header — repo + scan timestamp + scanner version + AI provider; jump-to-article anchor links
- Settings-mismatch banner (conditional) — yellow banner if the scan was run against a profile that has since changed (e.g. you updated risk classification after the scan). Re-scan to clear
- Findings list — grouped by article, expandable rows. Each row carries: status pill, obligation id, brief title. Expanding a row shows the full obligation breakdown
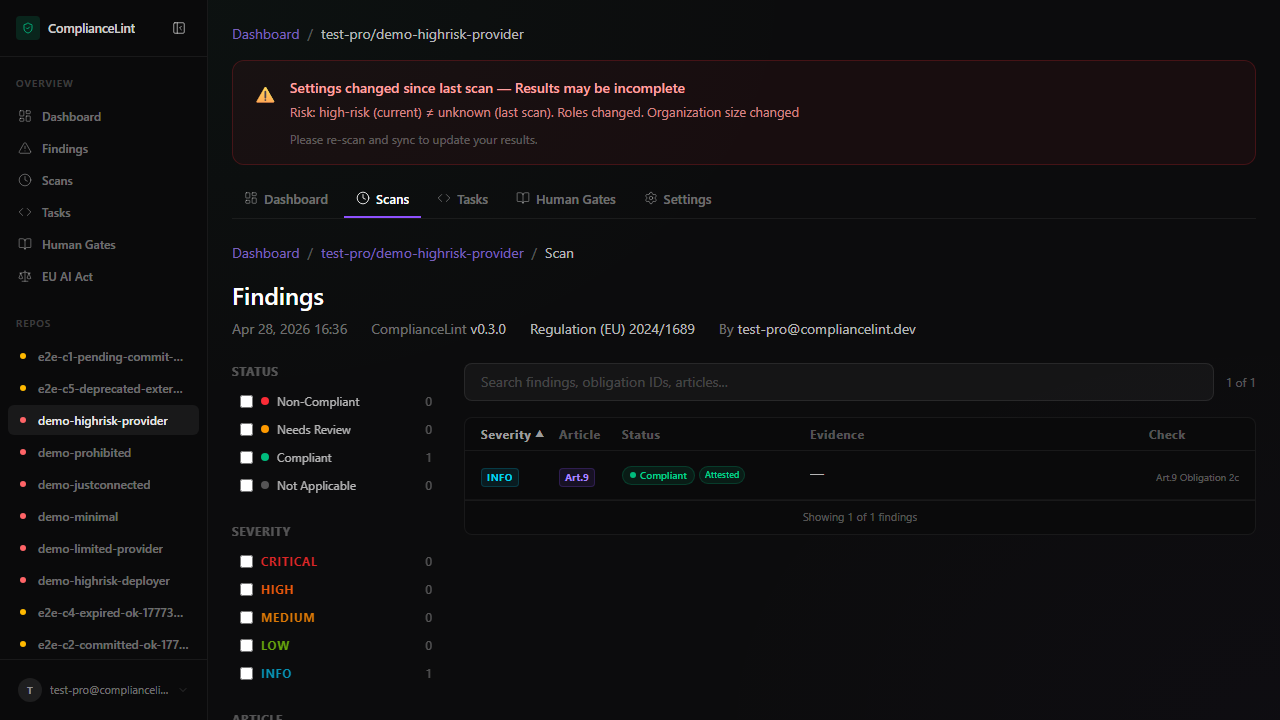
What you'll see: Scan detail page with header at top, optional yellow banner below, and the per-article finding list. The latest scan is loaded by default; the URL contains the scan UUID so the view is shareable / bookmarkable.
Step 2
Click any finding row to expand. The expanded panel shows:
- Verbatim source quote — the exact Article text from EUR-Lex that creates the obligation
- Scanner reasoning — what code paths / imports / file patterns made the scanner conclude NC / UTD
- Auto-detected evidence — files the scanner found that look like potential evidence (e.g.
RISK_ASSESSMENT.mdfor an Art. 9 finding). Pre-attached but unverified. - User-attached evidence — anything you uploaded or linked
- Action row — the surfaces described in step 3 below
Step 3
Per-finding actions:
Upload evidence (Pro+) — drag-drop or click. PDF / MD / TXT / common image formats accepted, 50 MB cap. See First evidence upload.
Link git path — point to an in-repo file (e.g. docs/fmea.md) instead of uploading. Useful when evidence lives in the codebase. The scanner verifies the path exists at next scan and tracks broken links.
Attest — for Human-Gate findings, opens the structured questionnaire. See Human Gates deep-dive.
~~Mark Not Applicable~~ — REMOVED 2026-05-15. The applicability engine (Compliance Profile + per-repo profile) is now the single source of truth for what applies; the manual "mark this not applicable" override is gone. Update your Profile via Edit in Profiling Wizard → in the right-side Profile Status panel; the wizard refreshes on next page load.
Defer — schedule revisit (Pro+ feature). Sets a reminder; finding stays NC but won't appear in the active worklist until the deferral date.
Acknowledge — for risk-accepted findings (rare). Records that you've seen and chosen not to act; finding stays NC for audit but is filtered from the default todo view.
Step 4
Each evidence item carries a state chip in two dimensions:
Commit status — whether the evidence is anchored to a repo commit:
pending_commit(amber) — uploaded but not yet committedcommitted(emerald) — anchored to a specific git SHAexpired(gray) — past TTL (default 30 days for non-Business tier; configurable)
Health status — whether the underlying file still exists:
intact(no badge) — file accessible at last verificationbroken_link(red dot) — git path no longer exists in the repo (file deleted, branch renamed, commit force-pushed away)
Hover any chip for the lineage: who uploaded, when, the commit SHA, the verification timestamp.
What you'll see: Evidence rows with their state chips visible inline. Broken links rendered with a red dot + tooltip explaining what's missing.
Step 5
If your repo has any evidence that has been invalidated since the scan was run (commits force-pushed, files deleted, TTL expired), a status banner appears at the top of the scan detail with a count and "View stale findings" link. Clicking opens the issues page filtered to is_stale=true.
Stale evidence doesn't auto-revert findings to NC — it just flags them as needing re-verification. Re-scan to actively re-evaluate; the scanner will either re-validate the new state or downgrade the finding.
What can go wrong
- Yellow "Settings changed" banner won't go away even after re-scan — The banner compares the CURRENT profile values against the scan's snapshot. If you re-scanned but didn't sync afterwards, the dashboard still has the old scan. Ask your AI to sync. If the banner persists with mismatch on a field you haven't changed, check whether a teammate edited the Compliance Profile between your scan and now (visible in account audit log, Pro+).
- I uploaded evidence but the finding still shows NC after re-scan — The scanner verifies evidence semantically — uploading a generic PDF doesn't auto-satisfy Art. 9 risk-management requirements. The evidence verification panel (Pro+) explains what the scanner expected to find inside the document (e.g. "FMEA section" / "residual risk treatment"). Update the document to include the missing pieces and re-upload.
- Evidence chips show
broken_linkafter a normal squash-merge — Git path evidence pins to a specific commit SHA. Squash merges rewrite history → original SHA disappears → broken_link. Either re-link the evidence to the post-merge SHA, OR upload the file as PDF instead (PDFs are stable across history rewrites). Best practice: use git-path evidence only for files in branches that won't be rewritten (main / release branches).
Related
Last updated: 2026-06-15