First evidence upload — turning a NON_COMPLIANT finding green
For: all
Tier: free+
Time: ~7 min
Why you'd do this
After your first scan, every NON_COMPLIANT finding represents a gap the scanner couldn't auto-resolve. Evidence upload is the manual complement — you attach the proof (FMEA doc, code commit, regulator filing) and the next scan picks it up. Audit trail is preserved per evidence item, so a regulator can later see WHO uploaded WHAT for WHICH finding WHEN.
Before you start
- At least one NON_COMPLIANT finding to act on (open
/dashboard/issues) - The proof artifact ready (PDF / link / git commit)
- Pro+ tier if you want to UPLOAD files (free tier sees the dropzone but the upload button shows an upgrade prompt)
Step 1
Open /dashboard/issues to see all NC findings across your repos. Filter by repo, article, or status using the row above the table. Click any finding row to expand the detail panel — obligation id, verbatim source quote, scanner-detected evidence (file paths or imports), and the available actions.
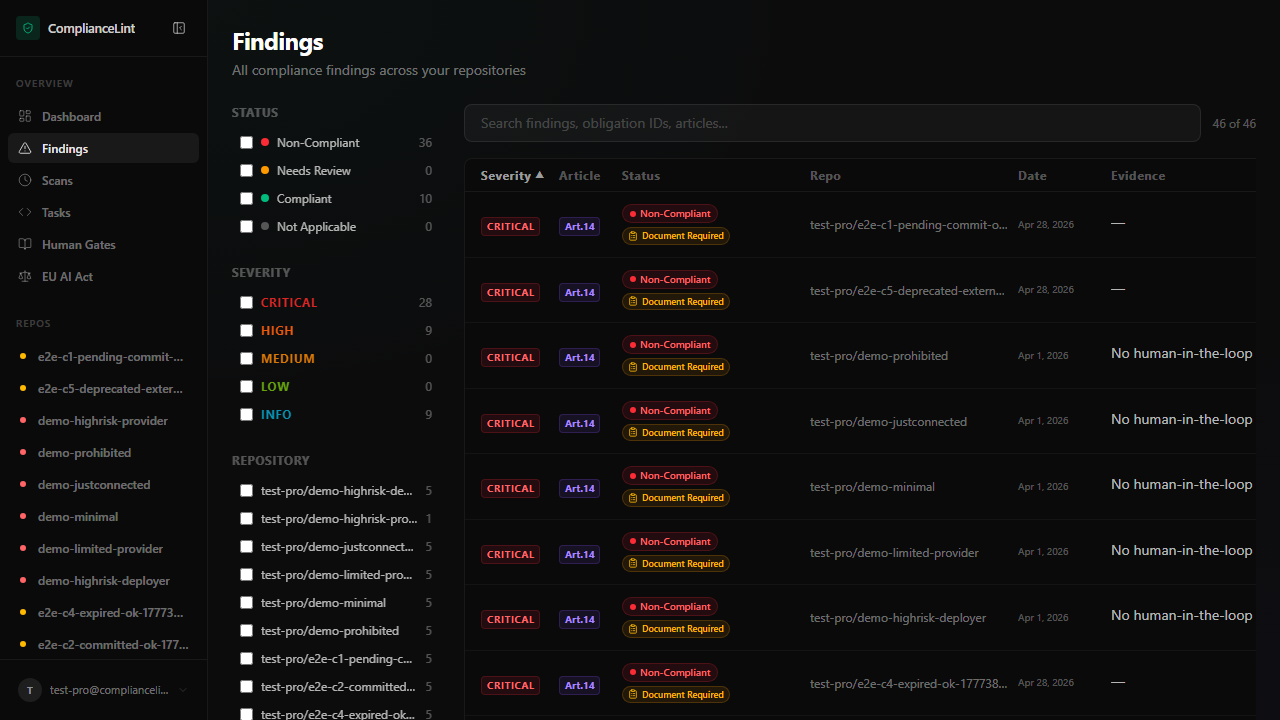
What you'll see: A table of findings, severity-tinted (red NC, amber UTD, green compliant). Each row shows article + obligation id + brief title + the repo it belongs to.
Step 2
From the issues page click into a NON_COMPLIANT row. You land on the per-finding evidence panel inside the scan detail page. The left half explains WHY (verbatim Article quote + scanner reasoning); the right half is the action surface — Upload / Mark NA / Defer / Acknowledge.
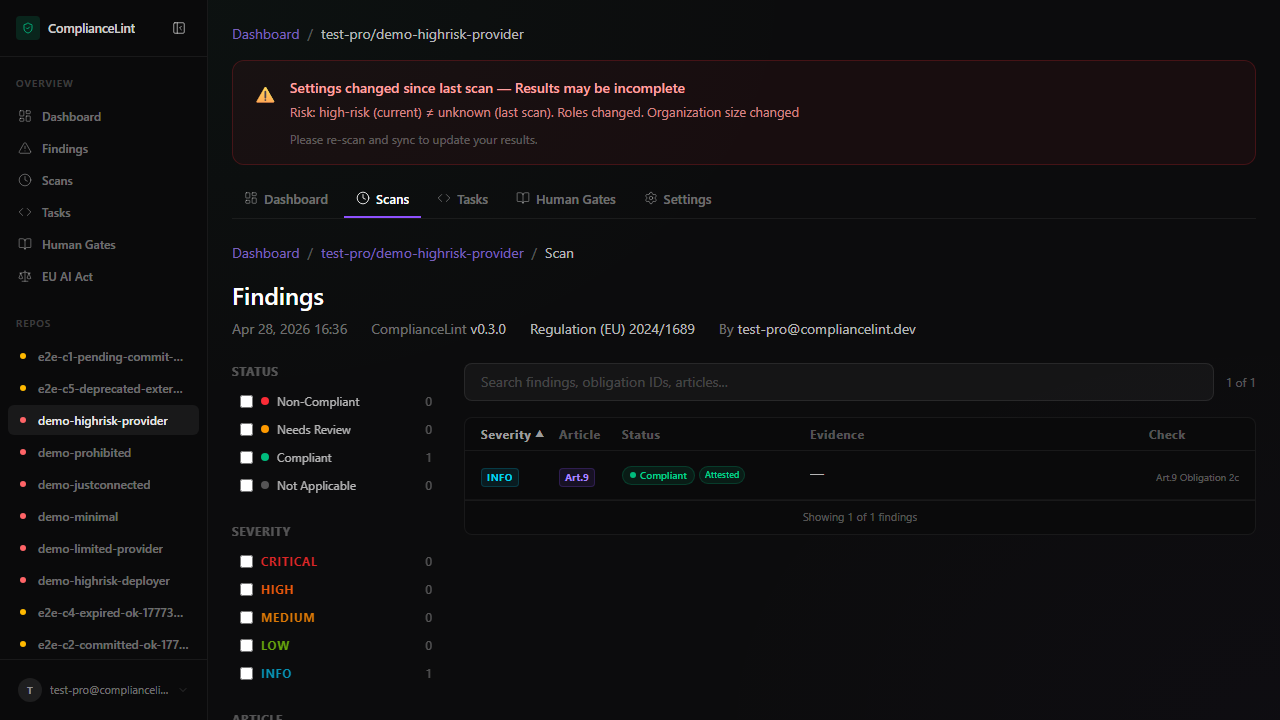
What you'll see: Scan-detail page expanded for one finding. The evidence dropzone and a list of any prior evidence items (with their commit_status: pending_commit / committed / broken_link / expired).
Step 3
Drag your PDF (FMEA, risk assessment, regulator filing, etc.) onto the dropzone, or click to choose. The 50 MB cap is per file. After upload the dashboard shows the file as pending_commit — it lives in dashboard storage but isn't yet anchored to a repo commit. On the next sync the scanner writes a marker file under .compliancelint/evidence/<finding-id>/; once you commit that marker and sync again, the status flips to committed. (Evidence-handling details: see the troubleshooting section below if a file gets stuck on pending_commit.)
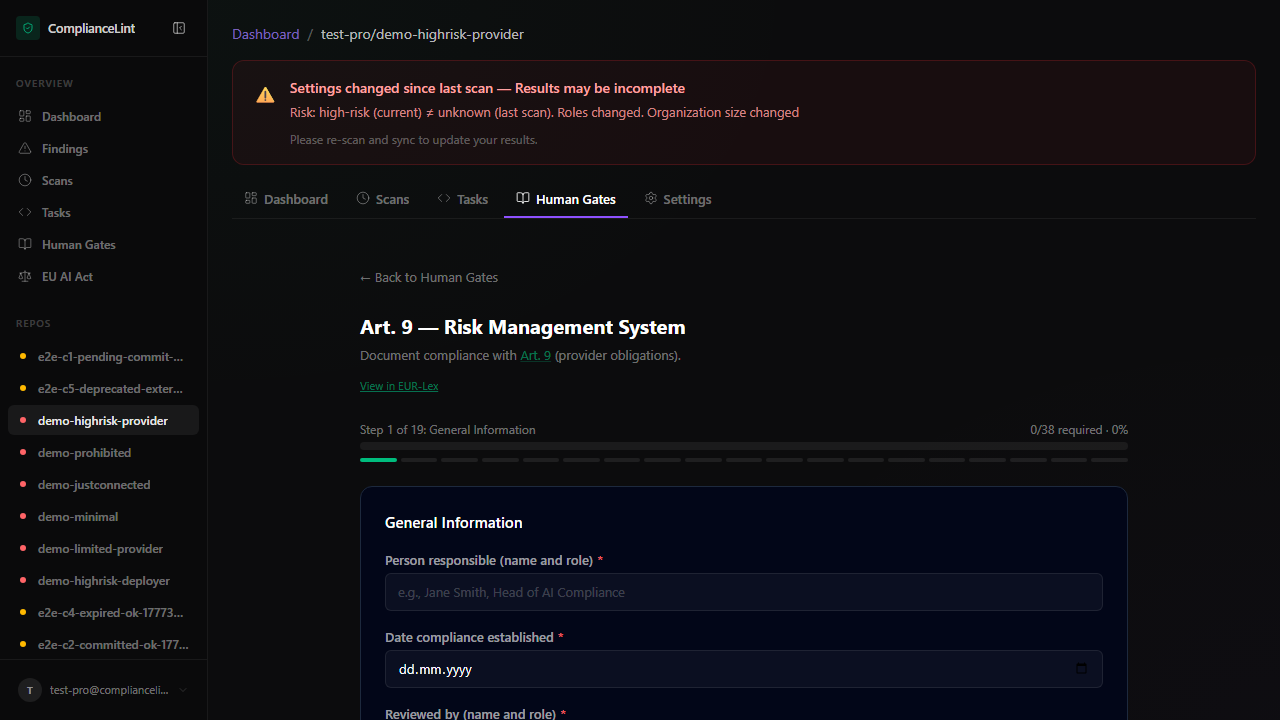
What you'll see: The file upload dropzone (Pro+ only) inside the Human Gate questionnaire. Free / Starter accounts see the dropzone outline but the action button shows an upgrade prompt.
Step 4
If a finding doesn't apply to your project — e.g. an obligation addressed to Importers when you're a sole Provider — the applicability engine filters it out automatically based on your Compliance Profile + per-repo profile (role, risk class, GPAI, etc.). You don't mark anything by hand from the wizard. If an obligation appears that you think shouldn't apply, update your Profile via Edit in Profiling Wizard → in the right-side Profile Status panel; the wizard refreshes on the next page load with the new visibility rules.
If the finding is a Human Gate (e.g. Art. 9 risk management documentation), you'll see a multi-step questionnaire instead of a simple upload. See Human Gates deep-dive for the form-by-form breakdown.
Step 5
Evidence isn't "applied" until the scanner sees it on the next run. Ask your AI: "Re-scan and sync the results." The dashboard now shows the finding moved to COMPLIANT (with the evidence attached) or stays NC if the scanner judged the evidence insufficient (rare; usually a wrong document type).
Re-scanning preserves history — every prior scan is still in /dashboard/repos/<id>/scans so you can compare gap deltas over time. Nothing is overwritten.
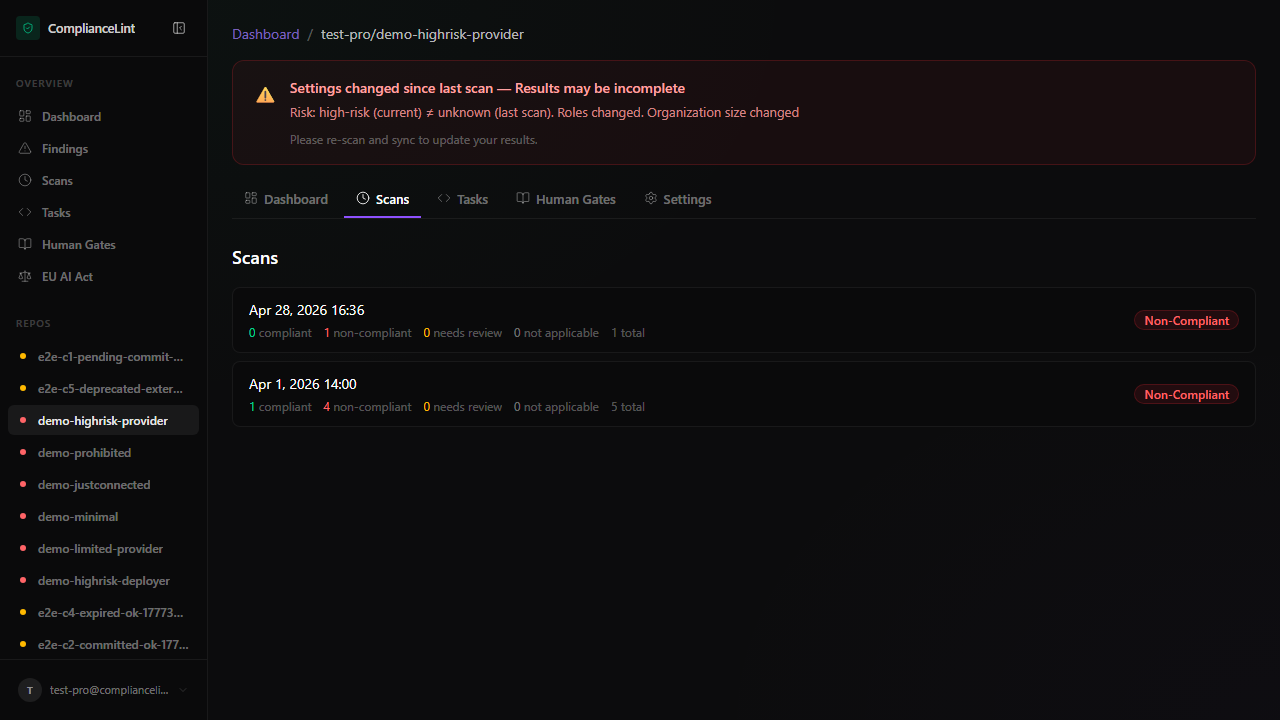
What you'll see: Scans tab listing every scan with timestamp + finding counts. Compare two scan rows to see what evidence closed which gap.
What can go wrong
- Upload fails with
413 Payload Too Large— The 50 MB per-file cap is enforced at the proxy. Compress the PDF or split into multiple smaller documents (e.g. cover sheet + appendix as separate uploads). Image-heavy FMEA docs often shrink 60-80% with PDF compression. - Evidence stays
pending_commitforever even aftercl_sync— Check that the project's git remote is configured AND your IDE has push access. Pending evidence is committed by writing a small marker file under.compliancelint/evidence/<finding-id>/. If that path can't be written or pushed, the dashboard never sees the commit and the evidence stays pending. Rungit statusin the repo to confirm the marker file is present and committed. - I uploaded the wrong PDF — how do I delete it? — Per-evidence deletion is intentionally not surfaced in the UI or via MCP — the audit trail must show original upload + replacement, not silent overwrites. Upload the correct file as a SECOND evidence item; both are kept in history with timestamps and the latest one is what counts toward compliance.
- Finding goes to UNABLE_TO_DETERMINE after I uploaded what I thought was correct evidence — UTD means the scanner saw the evidence but couldn't confirm it satisfies the obligation. Open the finding — the AI verification panel explains what was missing (e.g. "FMEA found but no residual-risk section"). Either upload an updated document or expand the existing one and re-upload. UTD is a softer signal than NC — the scanner is asking for clarification, not asserting non-compliance.
Related
Last updated: 2026-07-27